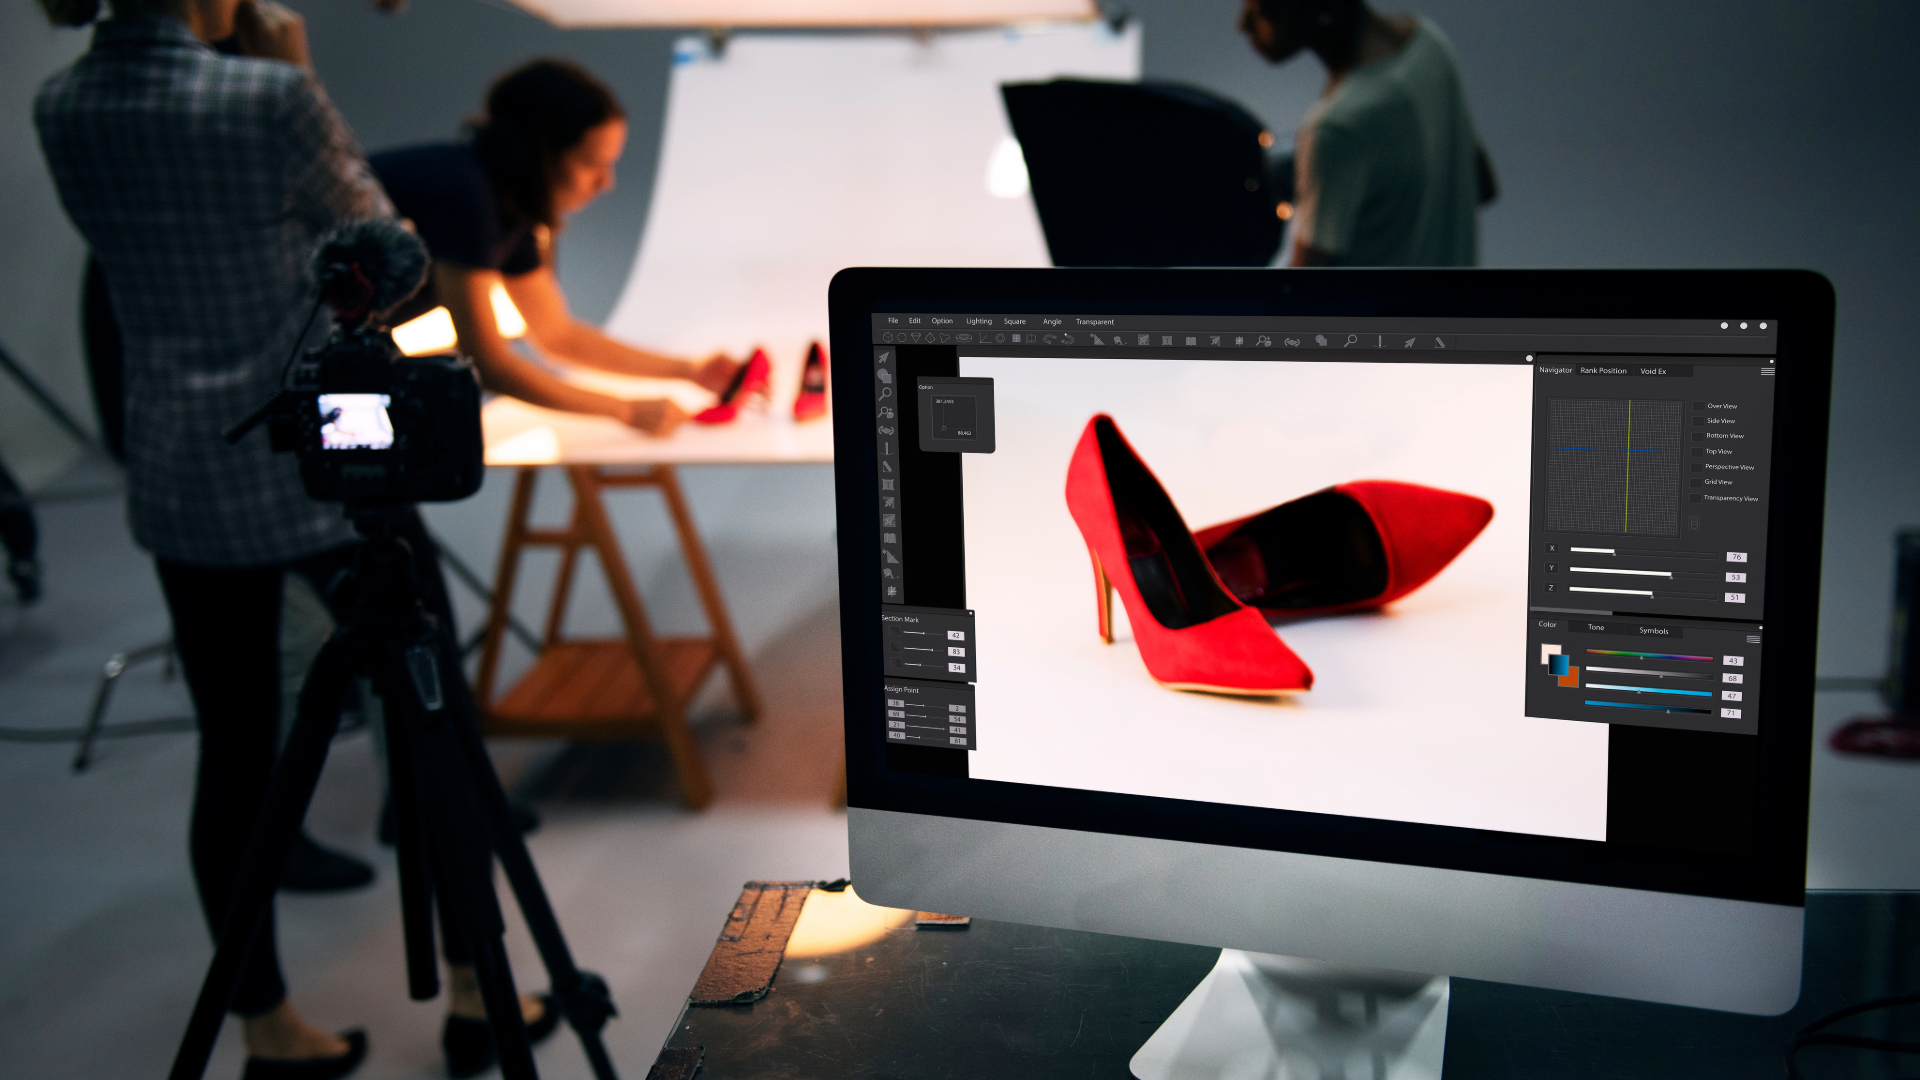
In the digital age, where over 71% of businesses establish an online presence, the significance of high-quality product photographs cannot be overstated. Whether you're a local business owner showcasing a few products or managing an extensive e-commerce store with a multitude of offerings, compelling product images are pivotal to success. As a product photographer, understanding the necessary resources and implementing best practices is key to presenting products in the best possible light and, consequently, boosting sales. Here's a comprehensive guide to equip you with the essential knowledge for successful product photography.
Equipment Essentials
Lightbox:
The foundation of great product photos lies in the right equipment. A lightbox, a compact enclosed space with diffused lights, creates an evenly lit environment for capturing object details. Selecting an appropriately sized lightbox ensures optimal results, catering to the specific requirements of the products you're photographing.
Tripod:
A tripod is indispensable for product photography, allowing you to maintain camera stability during long exposures. This ensures sharp, blur-free photos. Consider using a remote shutter release for hands-free photography, minimizing the risk of camera shake.
Camera:
While any digital camera suffices for product photography, a DSLR camera is optimal, offering manual controls and interchangeable lenses. This flexibility empowers you to fine-tune settings and achieve the perfect shot. Later, we'll delve deeper into camera considerations.
Illuminating Tips and Techniques
White Background Advantage:
Understanding how a camera captures images emphasizes the importance of a white background. A white backdrop reflects colors equally, preventing bias in color reproduction. If a dedicated lightbox is unavailable, using a white poster board, foam core, or a white sheet can serve as makeshift backgrounds, ensuring accurate color representation.
Multiple Light Sources:
Even within a lightbox setup, supplementing with natural light from a window enhances results. Opt for indirect sunlight to avoid harsh shadows and color distortion. Experiment with different lighting setups to discover what works best for your products.
Lifestyle Product Images:
While a white background ensures accurate color representation, lifestyle product photography provides visual appeal by situating products in natural or realistic settings. This approach, perfect for social media posts, allows potential customers to visualize product use. Some lifestyle shoots may require a white background, achievable in post-processing using tools like Photoshop.
Storyboarding for Lifestyle Product Images
Understanding Brand Guidelines:
Creating lifestyle product images necessitates a collaborative approach with the brand. Begin by comprehending the brand's guidelines, encompassing values, mission, and target audience. This knowledge informs the creative process.
Crafting a Storyboard:
Initiate the creative process by brainstorming ideas based on brand guidelines. Sketch or gather visual references to create a storyboard or concept. Tailor the creative vision to seamlessly integrate the product into the scene, maintaining a natural appearance.
Pitching the Storyboard:
Communication is paramount. Present your storyboard or concept to the client, conveying the thought process behind the shoot and its alignment with the company's goals. This can be done in person, over the phone, or via email, fostering collaboration and ensuring everyone is on the same page.
Optimal Cameras for Product Photography
Tailoring Camera Choice to Subject:
Different products demand specific camera considerations. For small products like jewelry, a macro lens excels at capturing intricate details. Large products benefit from wide-angle lenses to encompass the entire frame. Models or mannequins call for lenses that capture the entire outfit, ranging from 35mm to 85mm. Reflective products, like glassware, require anti-reflective (AR) lenses to minimize glare.
Manual Adjustability:
Select a camera with manual controls for aperture, shutter speed, and ISO. Aperture regulates light entry, shutter speed determines exposure duration, and ISO controls sensor sensitivity. Fine-tuning these settings ensures optimal results. Aim for a low ISO (100-400) to prevent graininess, higher aperture (f/8-f/11) for overall focus, and a slower shutter speed (1/60th of a second or slower) to prevent blurriness.
Photography, particularly product photography, is a nuanced craft that evolves with practice. Armed with the right equipment, an understanding of lighting techniques, and creative storytelling skills, anyone can capture striking product photos. Always keep the brand's identity in mind, choose an appropriate lens, and experiment with camera settings to discover what works best for each unique product. In conclusion, this comprehensive guide empowers you to navigate the intricate world of product photography, setting the stage for visually compelling and impactful images.
 Reviewed by Maggie
on
November 06, 2023
Rating:


